Sumo Logic is the industry’s leading, secure and purpose-built cloud-based machine data analytics service that leverages big data for real-time IT insights.
This integration utilizes Sumo Logic’s “Connections” option to send webhooks to the VictorOps REST endpoint, creating incidents in the timeline. The following guide will walk you through the steps needed to integrate the two platforms.
In VictorOps
In VictorOps, select Integrations. If the integration has not yet been enabled, click the “Enable Integration” button to generate your endpoint URL. Copy this URL for use in the Sumo Logic portion of integration configuration. Be sure to replace the “$routing_key” section with the actual routing key you intend to use.
In Sumo Logic
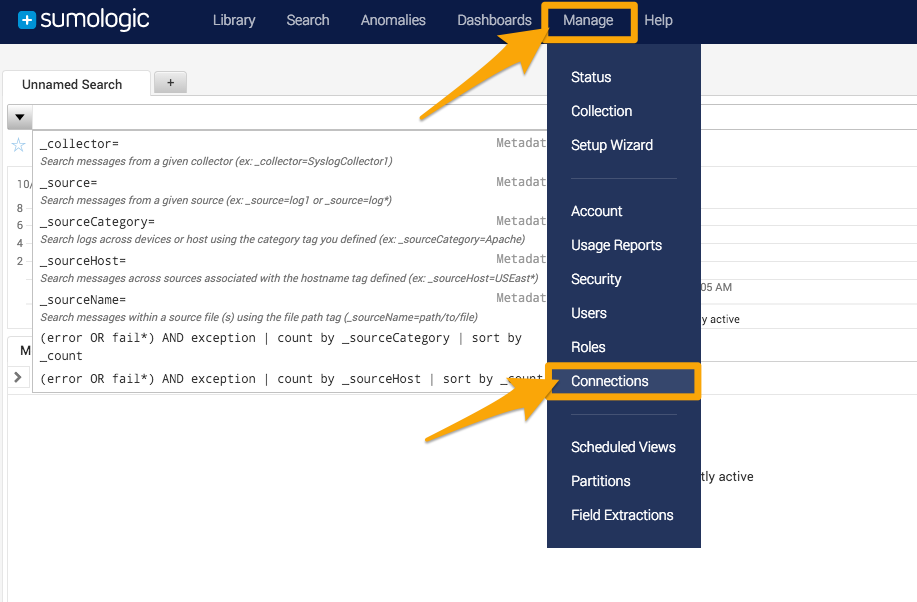
From the main dashboard select Manage then Connections.
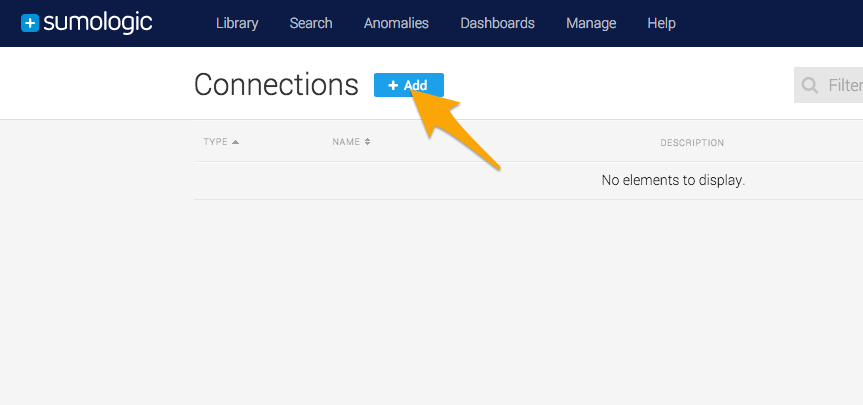
Add a new Connection.
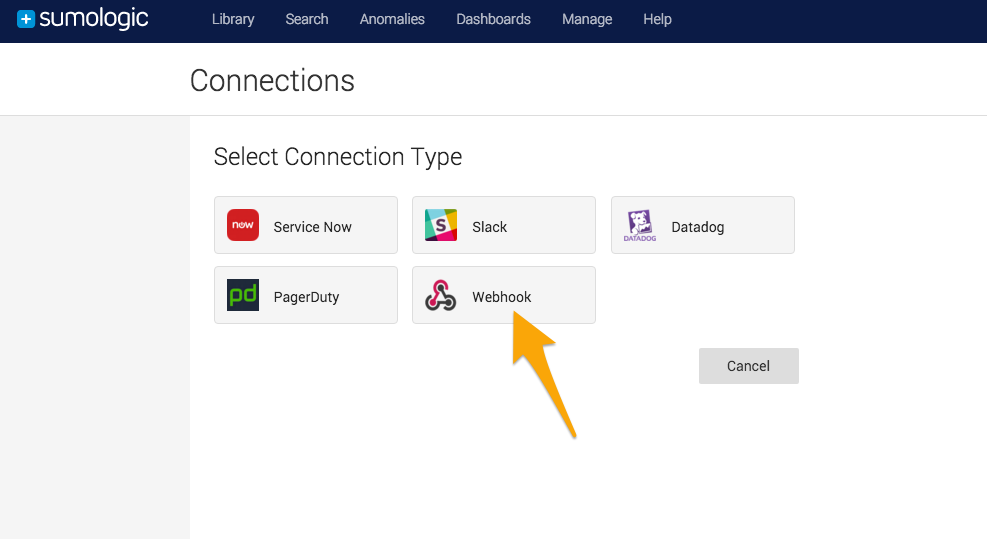
Select the Webhook connection type.
Give the Connection a name and description. Paste in the URL you got from the VictorOps portal. No Authorization Header is needed. Finally copy the JSON payload below and paste it into the “Payload” box.
NOTE: Depending on your scheduled search settings you may want to use $SearchQuery for the “state_message” field in place of $SearchDescription
{“message_type”:”CRITICAL”,
“entity_id”:”{{SearchName}}”,
“state_message”:”{{SearchQuery}}”,
“Search Description”:”{{SearchDescription}}”,
“Search Name”:”{{SearchName}}”,
“Number of Raw Results”:”{{NumRawResults}}”
}
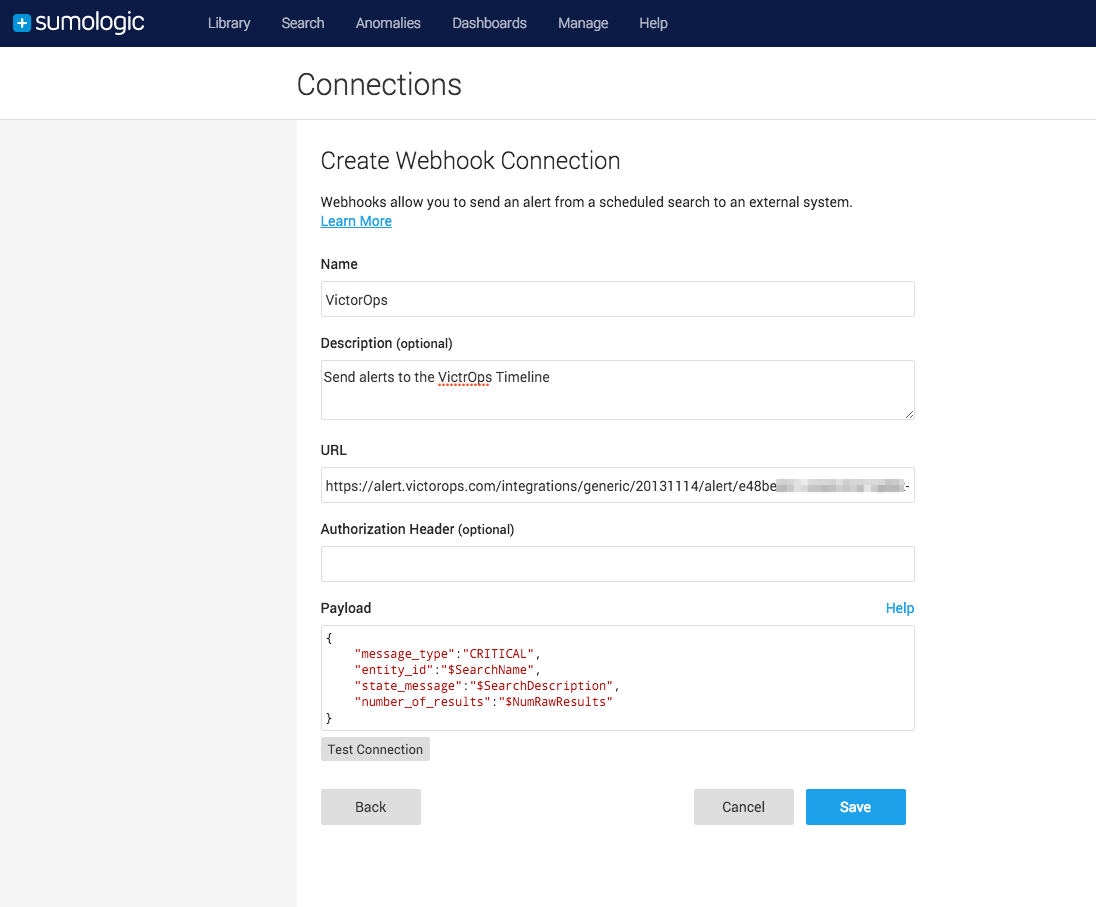
Add as many additional fields to the payload as you would like.
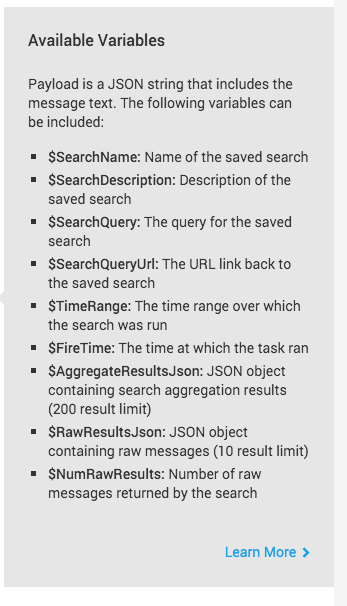
Make sure to test the connection and make sure you get a 200 response code.
Lastly you will need to add the VictorOps “connection” to one of your scheduled searches. To do this, select Library and then choose one of your searches.

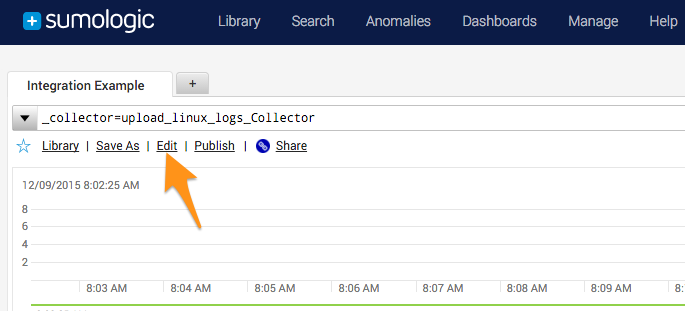
From the search screen select Edit.
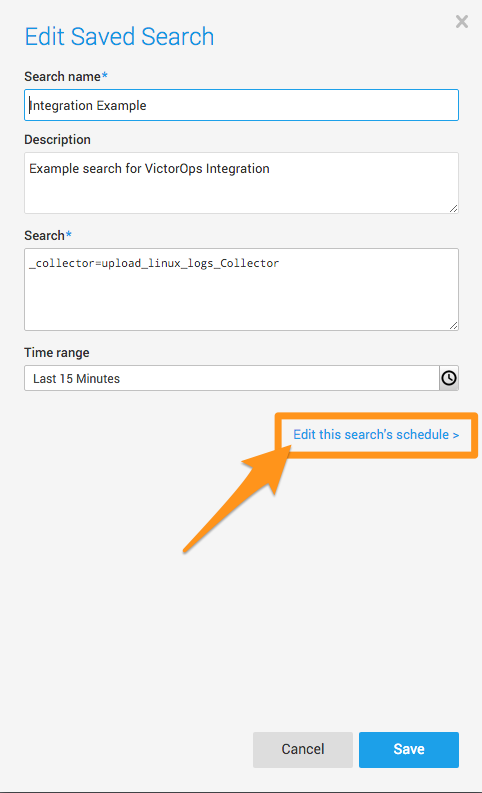
Select to Edit this search’s schedule >
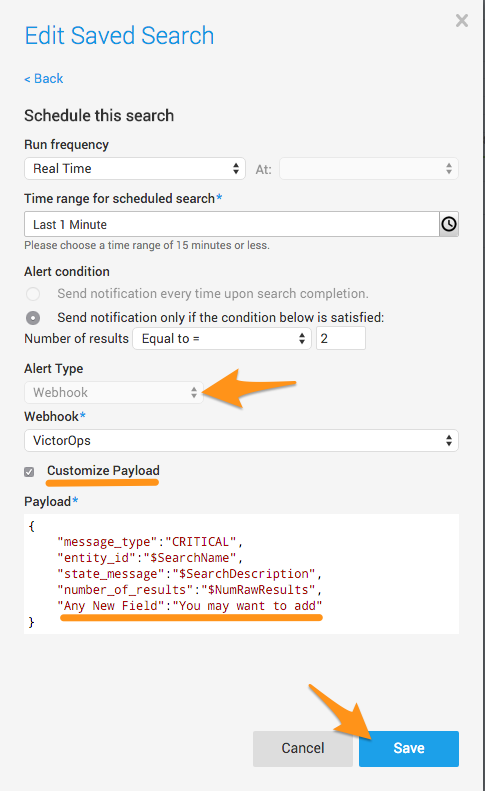
Under “Alert Type” select Webhook and then choose the VictorOps webhook we set up earlier.
You also have the option to “Customize Payload” for individual searches, you can add or edit any field on a per search basis.
Finally, click save and you are done!
